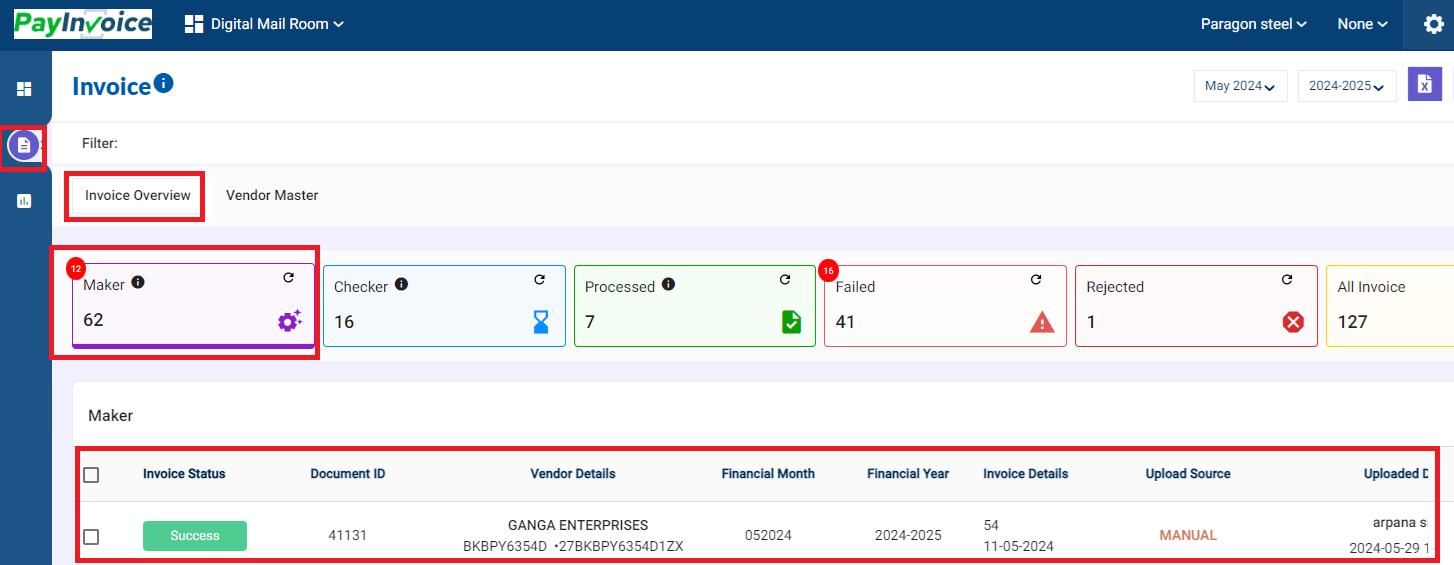
5. Invoice Overview - Upload Invoice
- Finding Uploaded Invoices:
After clicking the "Invoice" button, you'll be taken to the DMR Invoice dashboard and upload screen. Invoices uploaded through the following methods will be displayed here:
- Upload Invoice tab: This is the standard method for uploading single invoices.
- Bulk Upload tab: Use this option to upload multiple invoices at once.
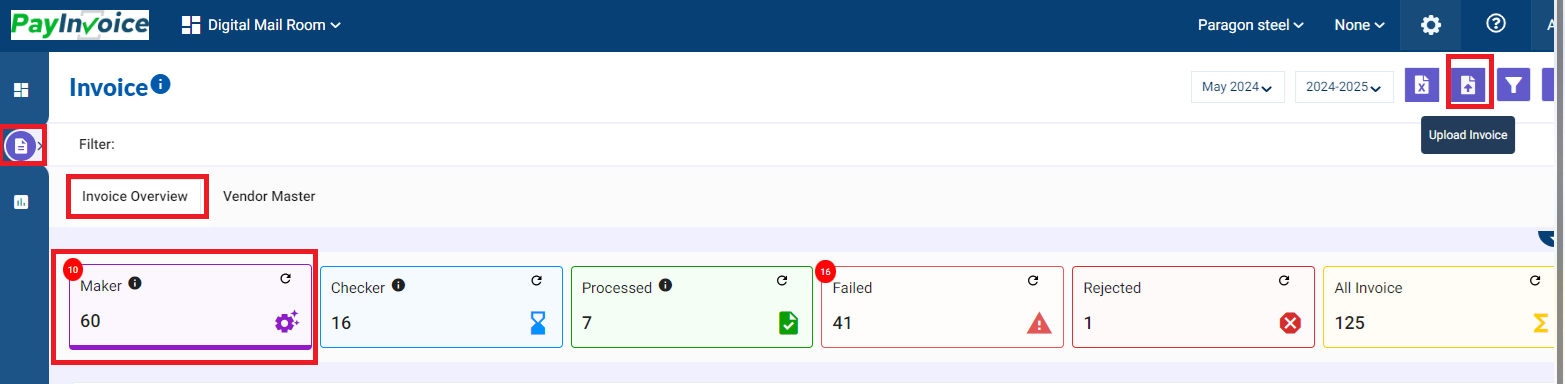
2. Uploading Invoices:
- Click the "Upload Invoice" button on the Invoice dashboard.
- Alternatively, access the Bulk Upload tab for multiple invoices.
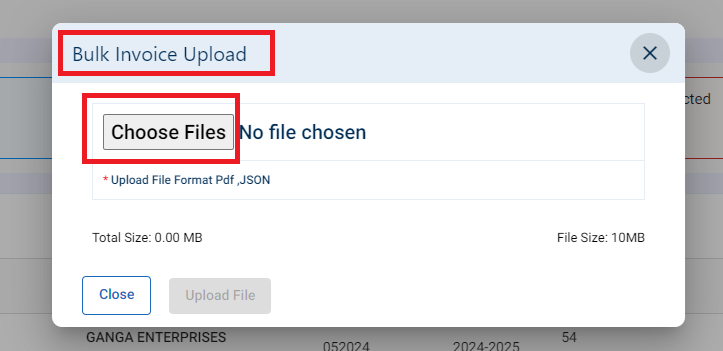
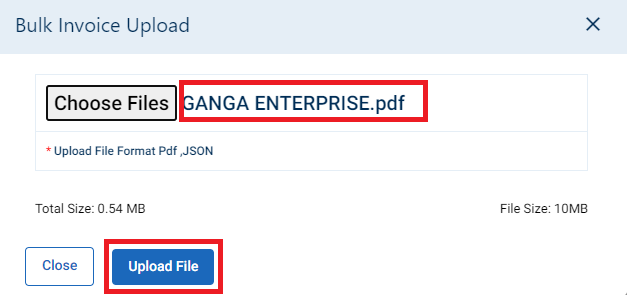
3. Uploading a Single Invoice:
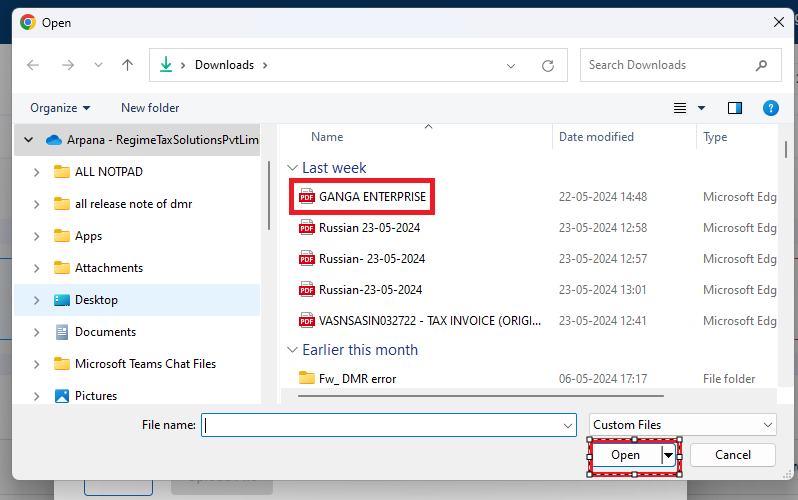
- In the Upload Invoice window, select your PDF invoice file using the "File" option.
- Click the "Upload File" button.
- Upon successful upload, an "Uploaded successfully" message will appear.
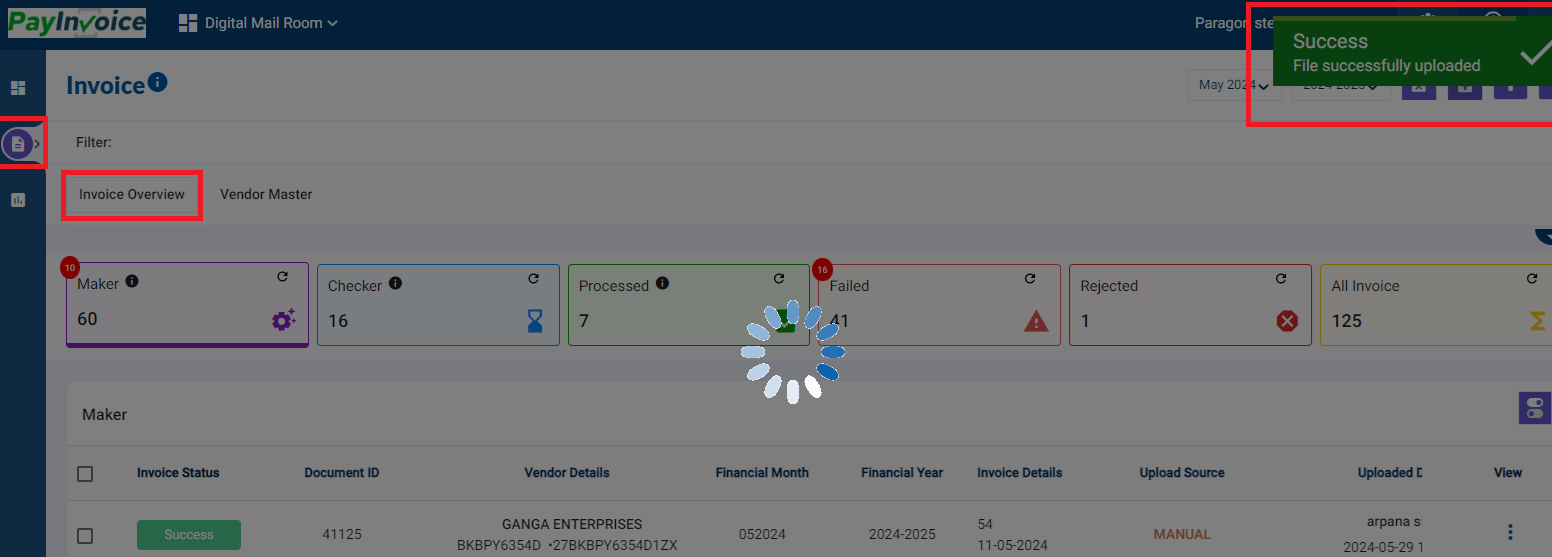
4. Processing:
-
- "File Uploaded Successfully" notification appears.
- Invoice status changes to "Processing" in the "Invoice Status" column.
- Optical Character Recognition (OCR) begins extracting data.
- OCR reads invoice details and populates relevant fields.
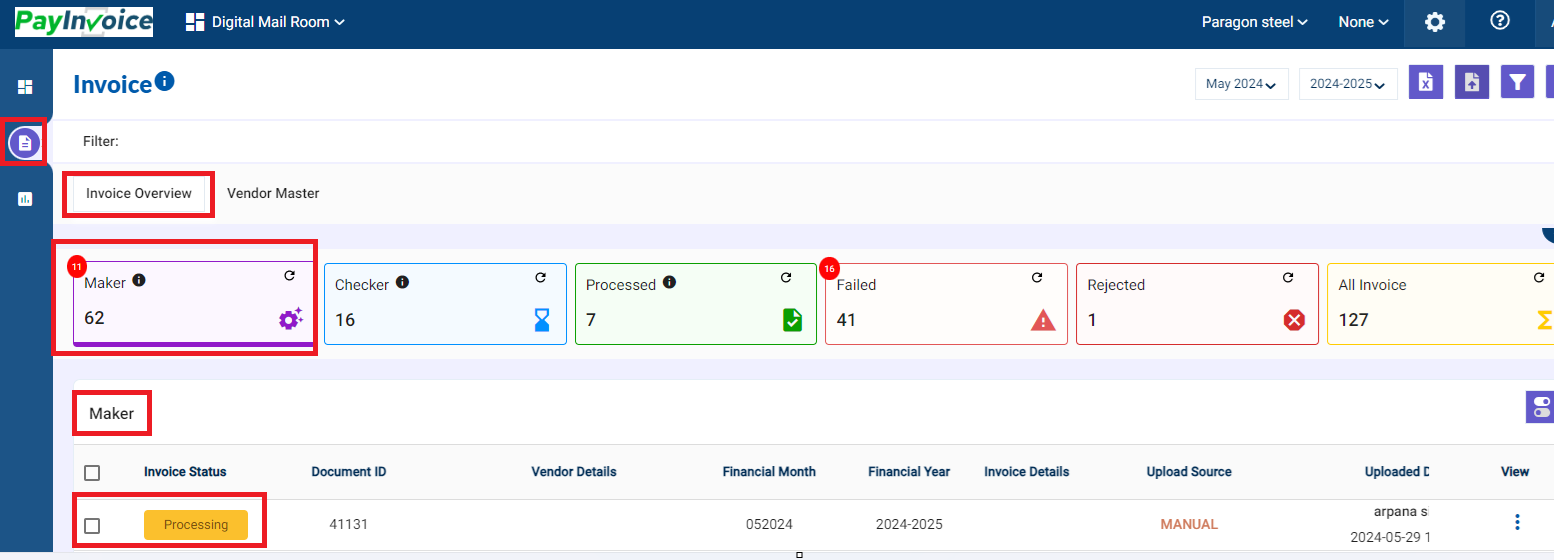
5. Success:
-
- Once data extraction and auto-population is complete, the invoice status changes to "Success."
- Once data extraction and auto-population is complete, the invoice status changes to "Success."